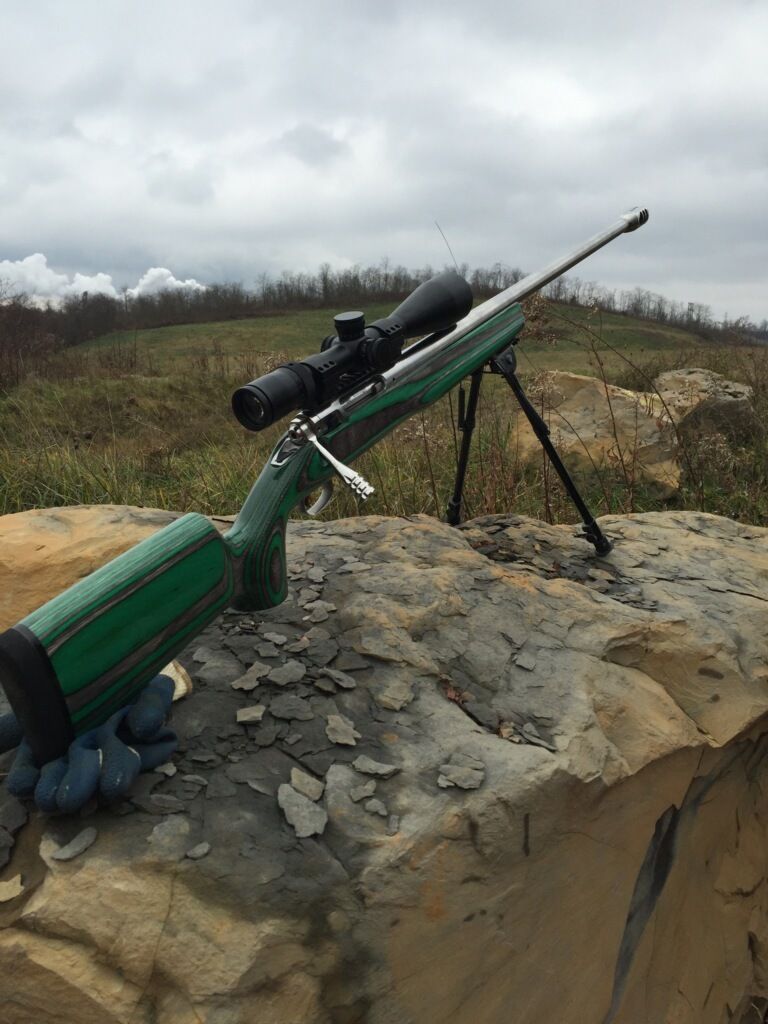
How to install a tactical muzzle brake, IMHO
May 25, 2016 21:17:21 GMT -5
Post by Deleted on May 25, 2016 21:17:21 GMT -5
I've been accused known to shill without giving much back to the board, so I thought I would add a little tidbit for guys that may have their own machinery but haven't done much smith assembler type of work with it.
Here is the process I use to fit a sml barrel and install the notorious Tactical, side gill, or tank style of brakes. Feel free to add your experiences and how they are similar or different.
#1-tenon cut to length and diameter
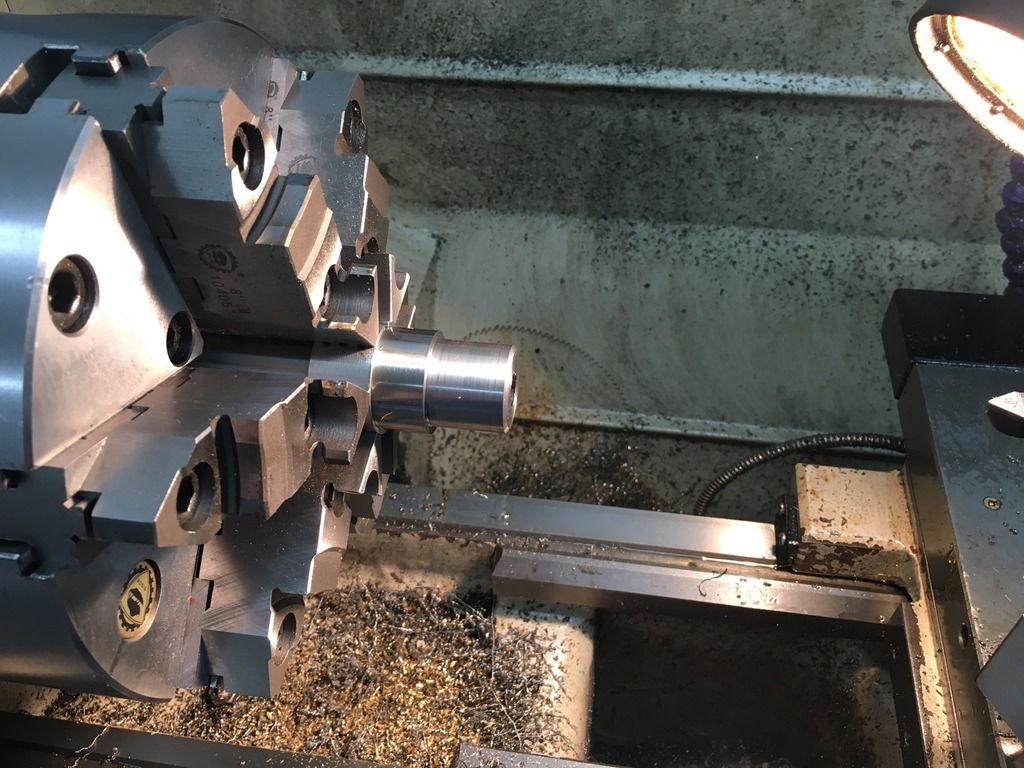
#2-tenon threaded to 1.020 pitch diameter
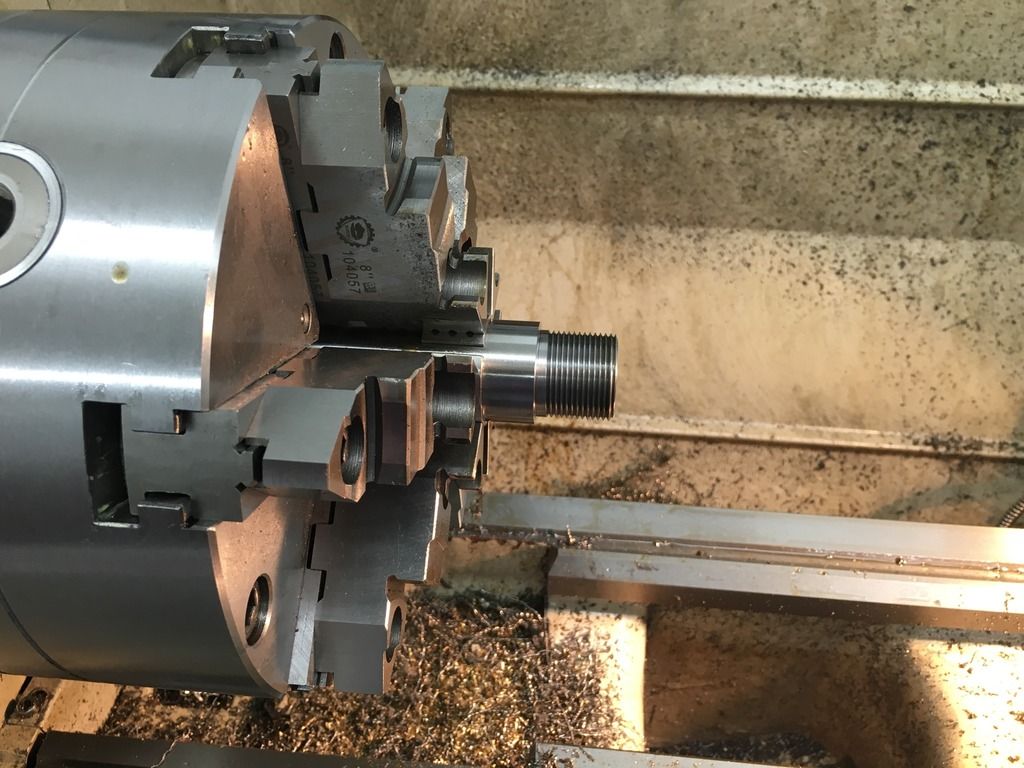
#3-Drilled, reamed, and plug seat cut to headspace.
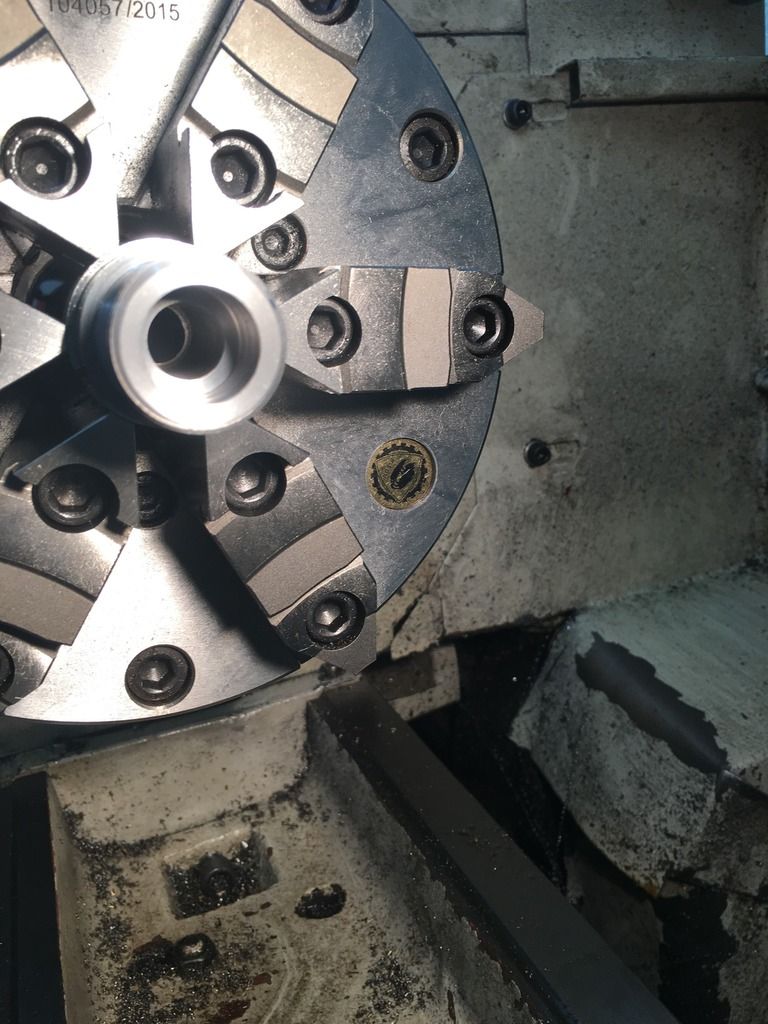
#4- same progress as above
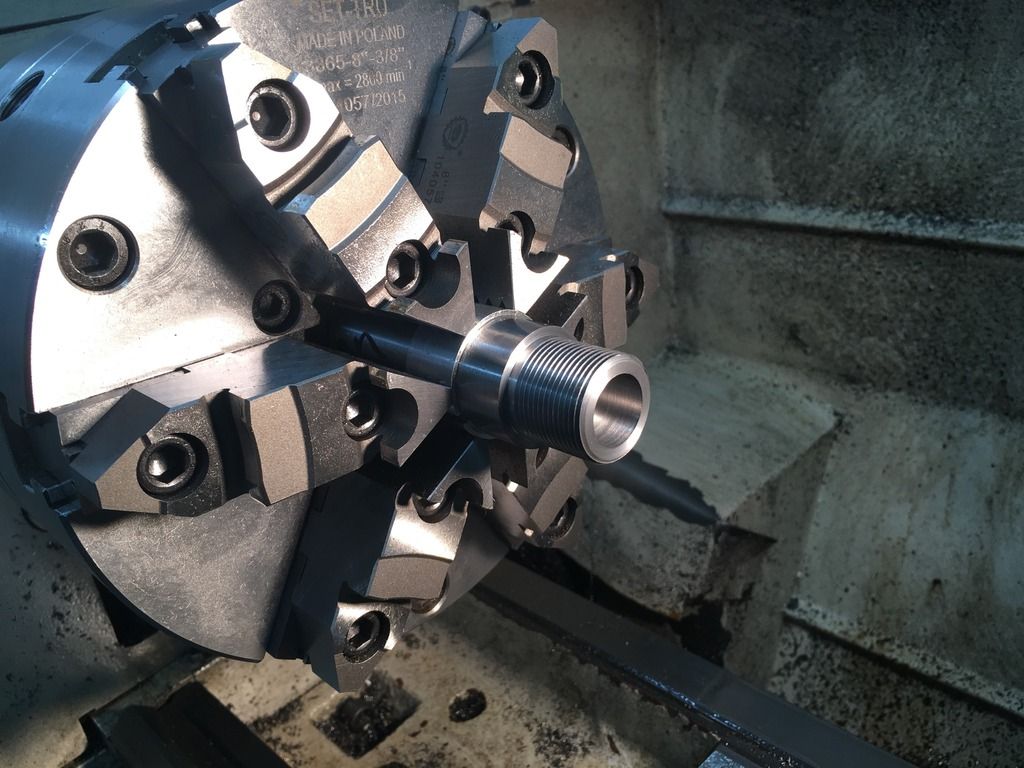
#5- tap using spring center and 9/16-18 H3 plug and bottom tap
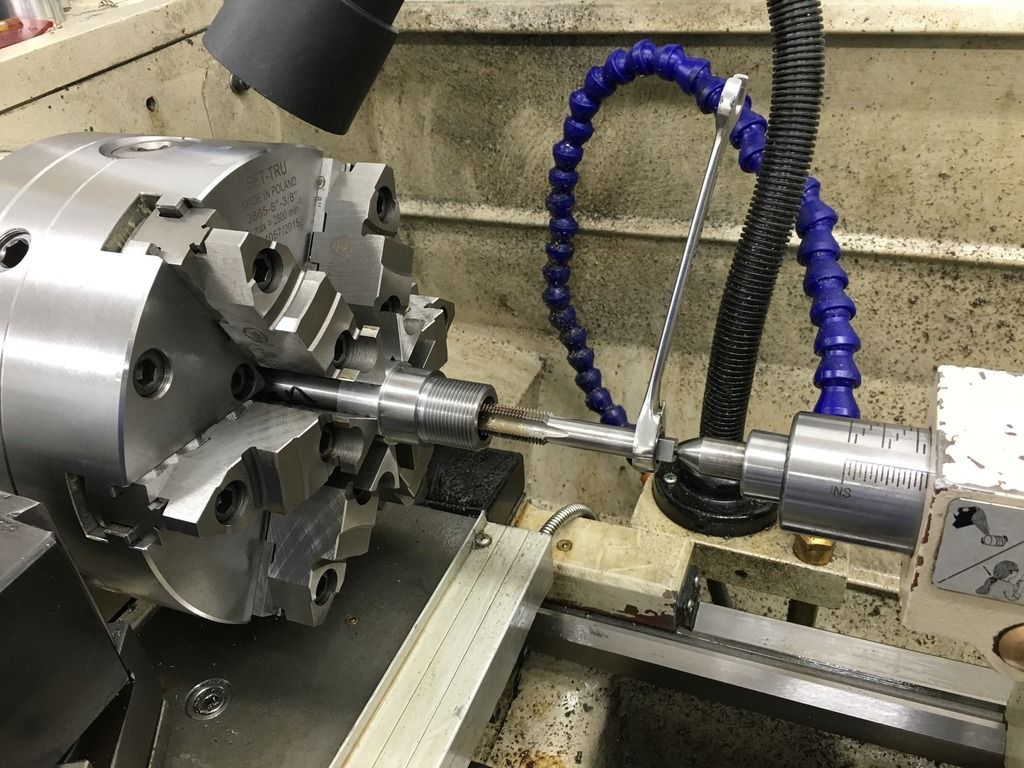
#6- completed breech end of SML barrel
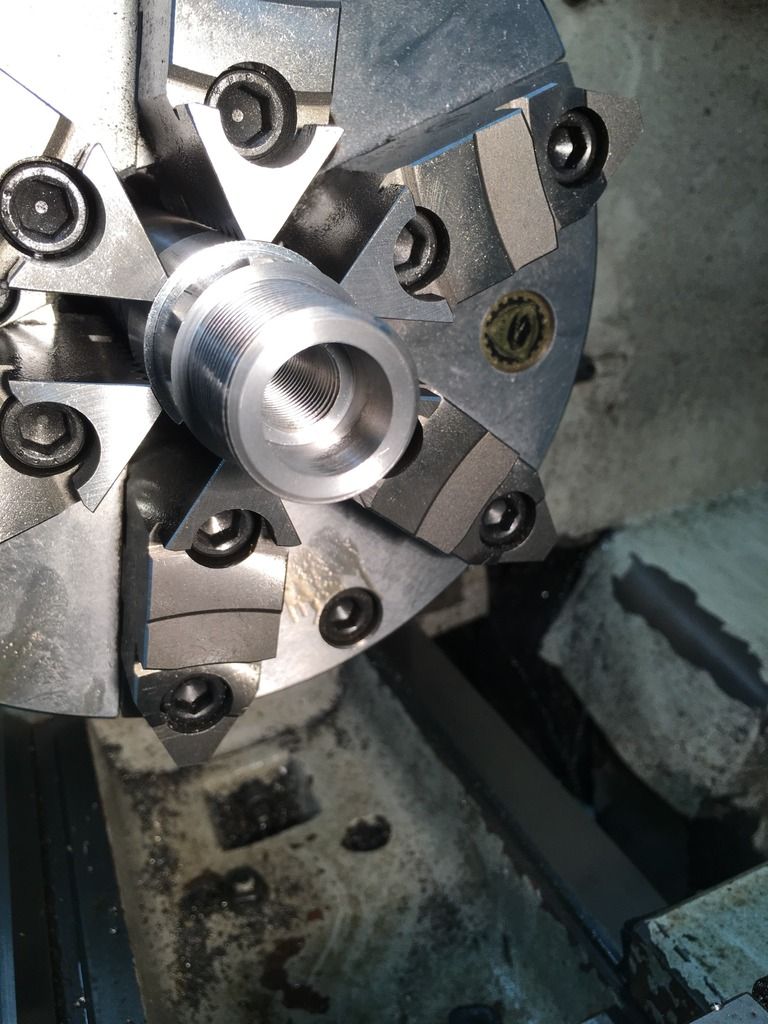
#7- barrel torqued to action, recoil lug pinned, scope base screws enlarged to 8-40. This will be a switch barrel action so the barrel was torqued to 40 ft/lbs.
#8- barrel supported in between inboard and outboard spiders.
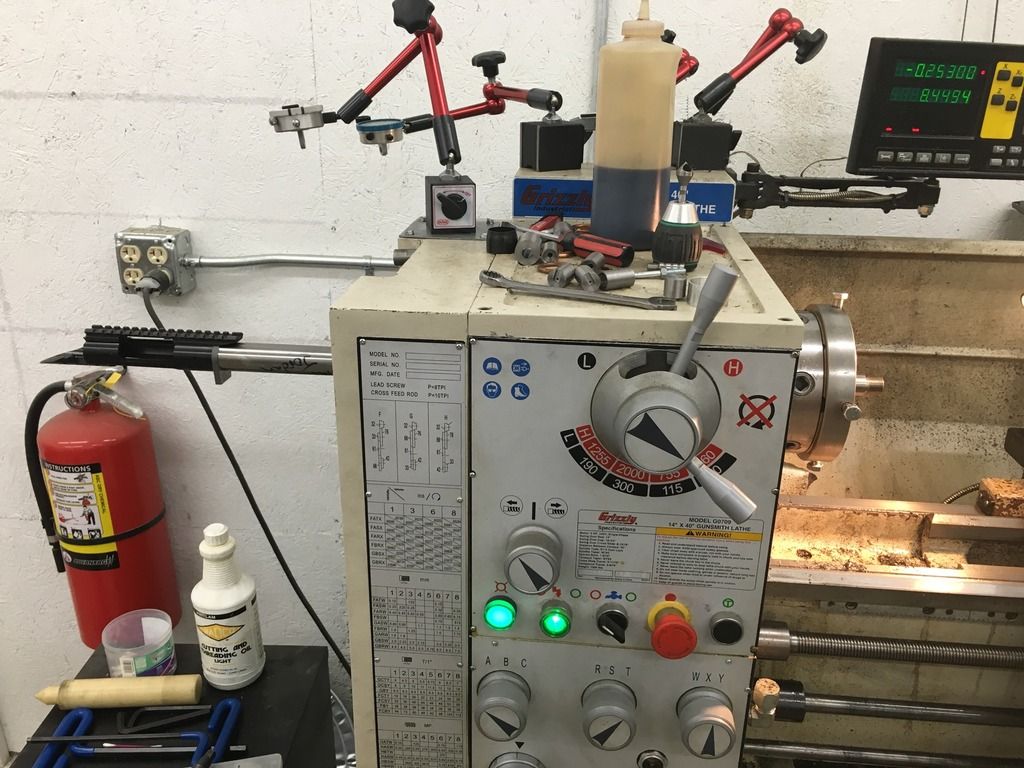
#9- Muzzle brake tenon cut to 3/4-24x.700 tenon @ .722” pitch diameter. IMO Muzzle devices should always be installed using the correct pitch diameter. Checking fit of the device leads to blind guessing and possibly overshooting the correct pitch diameter. It also creates bad habits that could lead to a shoddy suppressor install and a chunk of thrown away money. Buy a set of pitch micrometers and take the time to use them.
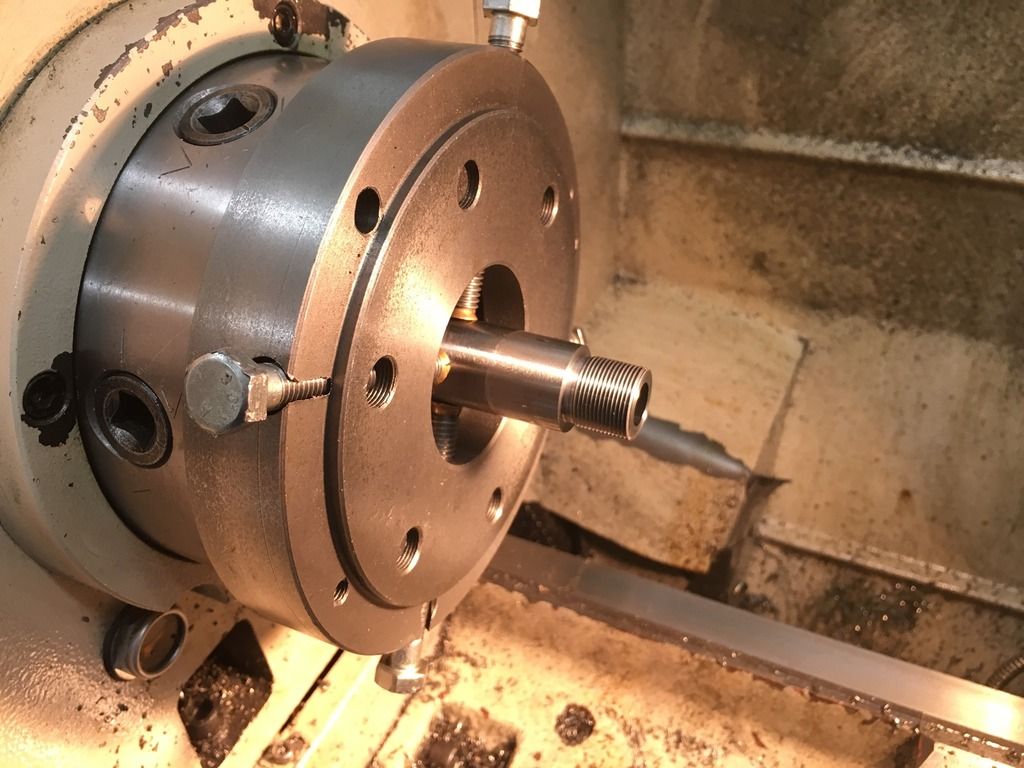
#10- Thread the brake on and snug it up hand tight. Then with base installed, level action to 0*
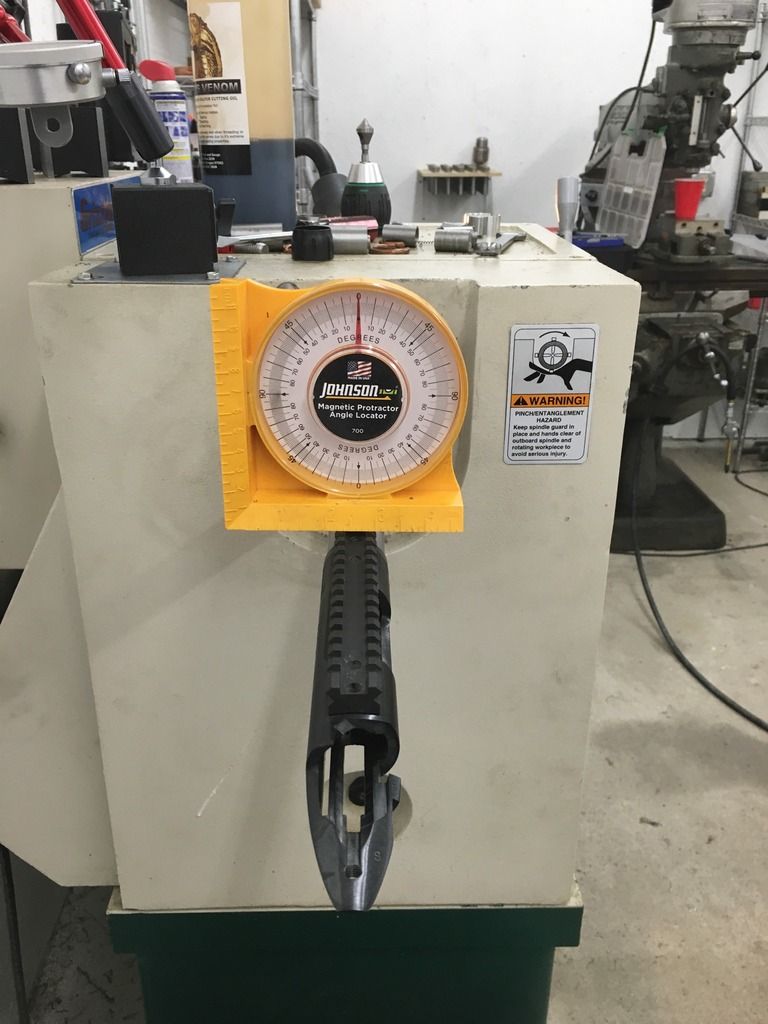
#11- reference location of brake when action is level.
If you are using a Harrell’s tactical or non-slabbed brake insert a piece of appropriately sized square key stock through the brake for your reference plane.
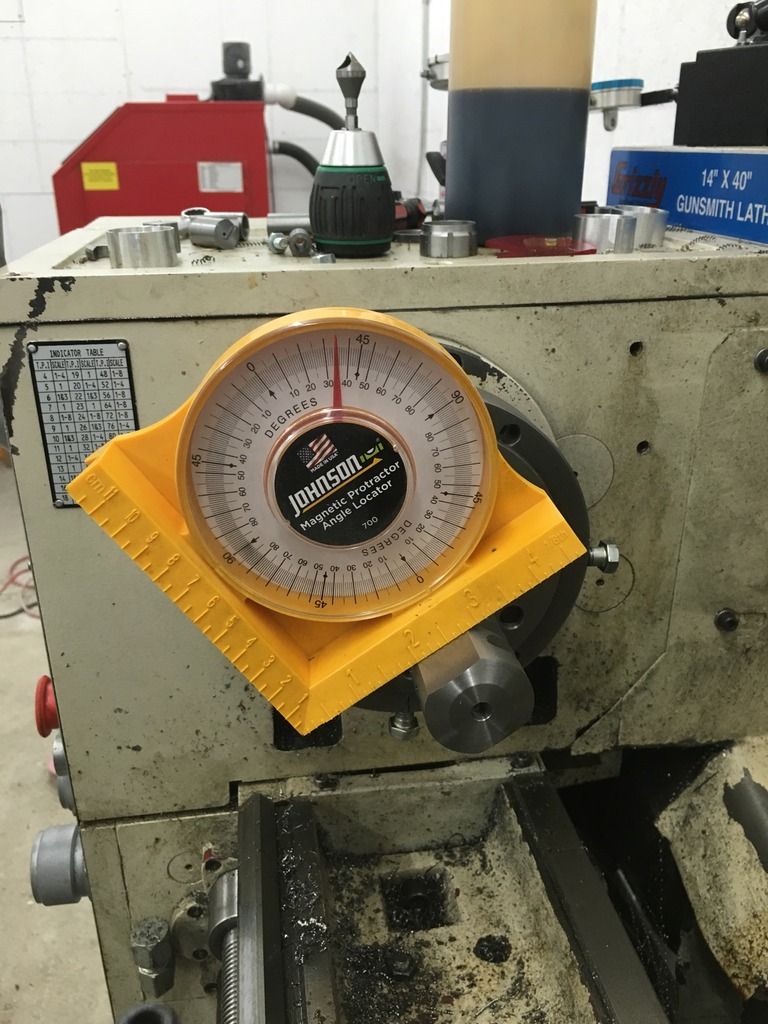
#12- do the math. I always torque the brakes on about 7-10* depending on thread pitch. Coarser pitch would use less degrees of torque. Since we are 35* off we take 35*- 7* and find that we need the brake to rotate an additional 28*. To find how much needs taken off the shoulder we take the thread pitch (24tpi) and find the travel per rotation. 1 divided by 24 equals .04167" of movement per 360*. So we take .04167" divided by 360 degrees and get .0001157" per degree of angle. Then take.0001157" multiplied by the desired 28* and get .00324". That is the amount that needs to be taken off of the shoulder the brake tightens against. Touch off of the shoulder and take .001 and then reset your indicator or DRO to Zero. Reinstall the brake to find your remaining correction and then proceed to make your final cut.
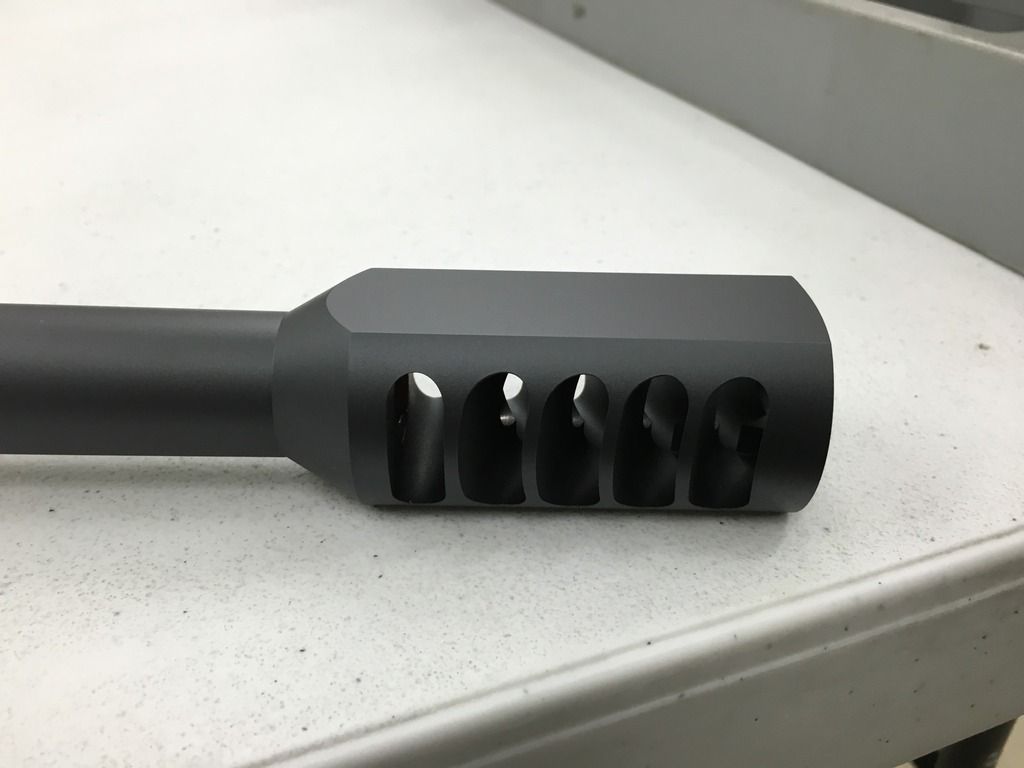
#13- Pre-drill the brake with a factory ground bit about .050 smaller than the desired diameter. Then bore the inside of the brake to .020" over caliber diameter, in this case .478". If you are going to do a lot of builds in one caliber a brake reamer is a good investment. Relieve the muzzle and the front of the brake at 30* for smoother gas transition. After all internal machining is done, re-indicate to the OD of the barrel and blend the brake to match the contour of the barrel. In this case the brake was blended at 30*. Here is the completed brake; timed correctly, blended, with the proper clearance to allow the most effectiveness possible, and cerakoted. Total time of installation for the brake is about 45 minutes.
Here is the process I use to fit a sml barrel and install the notorious Tactical, side gill, or tank style of brakes. Feel free to add your experiences and how they are similar or different.
#1-tenon cut to length and diameter

#2-tenon threaded to 1.020 pitch diameter

#3-Drilled, reamed, and plug seat cut to headspace.

#4- same progress as above

#5- tap using spring center and 9/16-18 H3 plug and bottom tap

#6- completed breech end of SML barrel

#7- barrel torqued to action, recoil lug pinned, scope base screws enlarged to 8-40. This will be a switch barrel action so the barrel was torqued to 40 ft/lbs.
#8- barrel supported in between inboard and outboard spiders.

#9- Muzzle brake tenon cut to 3/4-24x.700 tenon @ .722” pitch diameter. IMO Muzzle devices should always be installed using the correct pitch diameter. Checking fit of the device leads to blind guessing and possibly overshooting the correct pitch diameter. It also creates bad habits that could lead to a shoddy suppressor install and a chunk of thrown away money. Buy a set of pitch micrometers and take the time to use them.

#10- Thread the brake on and snug it up hand tight. Then with base installed, level action to 0*

#11- reference location of brake when action is level.
If you are using a Harrell’s tactical or non-slabbed brake insert a piece of appropriately sized square key stock through the brake for your reference plane.

#12- do the math. I always torque the brakes on about 7-10* depending on thread pitch. Coarser pitch would use less degrees of torque. Since we are 35* off we take 35*- 7* and find that we need the brake to rotate an additional 28*. To find how much needs taken off the shoulder we take the thread pitch (24tpi) and find the travel per rotation. 1 divided by 24 equals .04167" of movement per 360*. So we take .04167" divided by 360 degrees and get .0001157" per degree of angle. Then take.0001157" multiplied by the desired 28* and get .00324". That is the amount that needs to be taken off of the shoulder the brake tightens against. Touch off of the shoulder and take .001 and then reset your indicator or DRO to Zero. Reinstall the brake to find your remaining correction and then proceed to make your final cut.
#13- Pre-drill the brake with a factory ground bit about .050 smaller than the desired diameter. Then bore the inside of the brake to .020" over caliber diameter, in this case .478". If you are going to do a lot of builds in one caliber a brake reamer is a good investment. Relieve the muzzle and the front of the brake at 30* for smoother gas transition. After all internal machining is done, re-indicate to the OD of the barrel and blend the brake to match the contour of the barrel. In this case the brake was blended at 30*. Here is the completed brake; timed correctly, blended, with the proper clearance to allow the most effectiveness possible, and cerakoted. Total time of installation for the brake is about 45 minutes.


