
HEADSPACING by SW
Jan 15, 2009 8:51:07 GMT -5
Post by edge on Jan 15, 2009 8:51:07 GMT -5
RB's massive 45 cal BPs
[/IMG]

Ok, here we go.
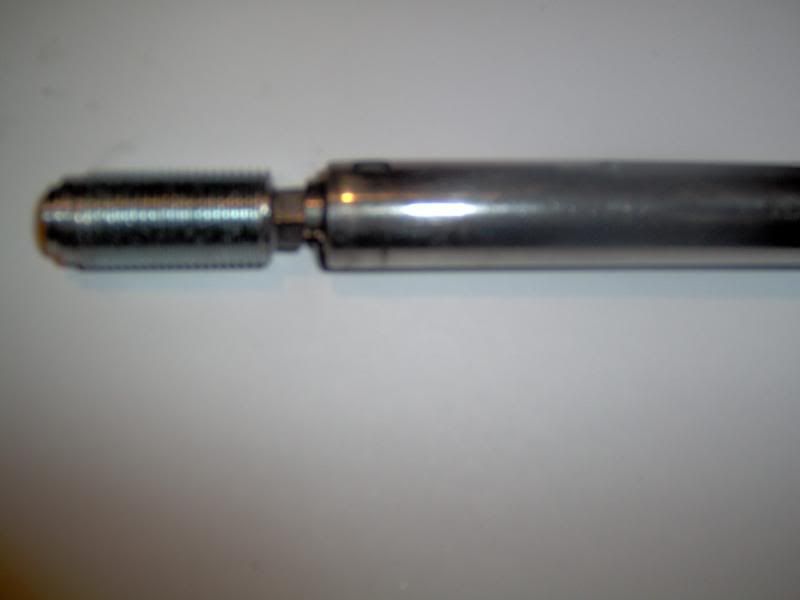
1) Pick the primer you want to use, have the breechplug in hand, have the bolt available, have a size "C" drill bit in your drill.
2) Try to fit your primer into the breechplug - it should go at least 2/3 of the way in. If it doesn't drill the primer recess to where the primer will go at least 2/3 in.
3) Place the primer in the bolt primer holder and fit the primer into the BP. Adjust the primer pocket in the BP until the bolt face just barely touches the BP when the primer is in the bolt.
4) Lube the BP and screw it into the barrel fully.
5) Place the barrel in a vice(or someone's really strong hands). Have the barrel wrench on the barrel 1st. With the barrel nut nearly fully screwed out(backed off), tighten the barrel until the barrel closes against the receiver with the bolt in place - the BP will gently tough the bolt's primer holder. Back the barrel off appx 10 degrees.
6) Open the bolt, insert a primer and close the bolt(put it on 1/2 safe). Gently tighten the barrel until slight resistance is felt. Back up 1-2 degrees and tighten the barrel nut fully. Make sure the recoil lug is in it's proper place.
7) Take it off 1/2 safe and pull the trigger. Open the bolt and see how easy the primer is to take out
 .
. 8) Make any slight adjustment if needed - I never have had to make an adjustment.
9) Place the properly "Headspaced" barrel/receiver into the stock and you are finished.
10) Easy wasn't it!
I apologize for the picture quality. I reduced the MP to help with downloading/uploading onto the web-site. I'll not go down so much next time.
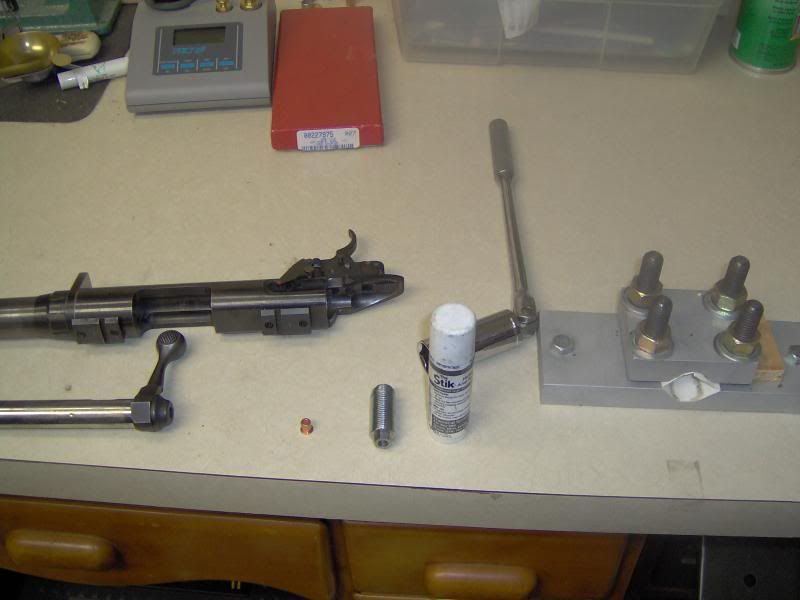
Go back to the pictures and follow thru what I did. At first, the CCIm wouldn't even go in the BP - he had left it too tight so I could do this "show and tell". The slow steps of drilling and checking are shown with the BP and primer inserted into the bolt until the primer holder of the bolt would fully touch the BP.
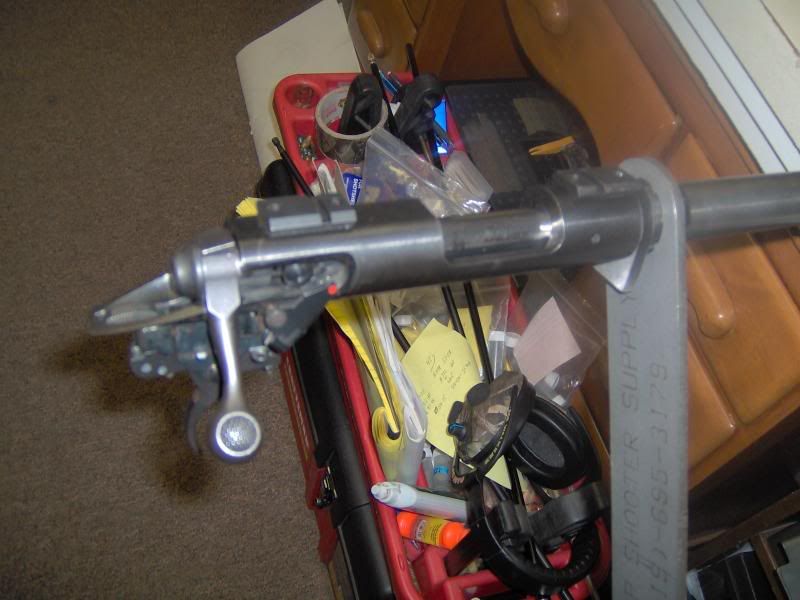
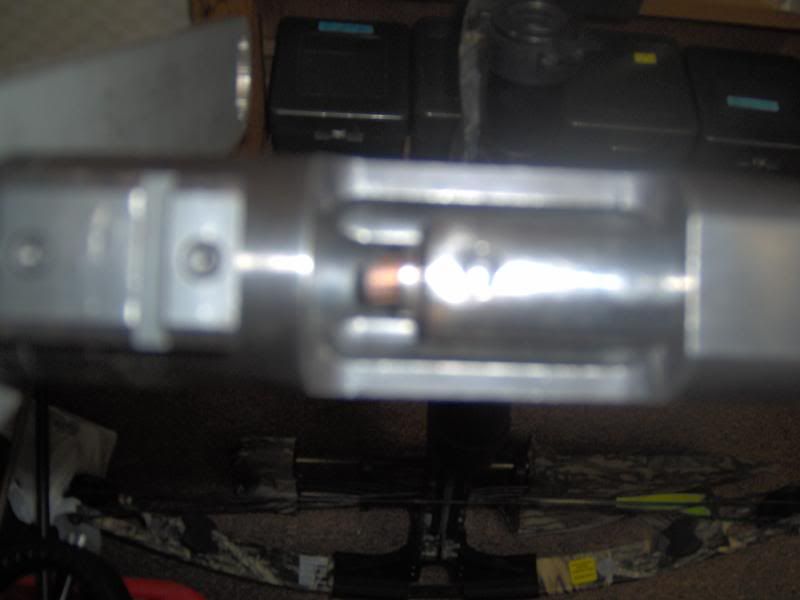
The next picture is just before assembling the barrel/receiver/BP and starting the adjustment. The next picture is after the receiver is adjusted to the barrel or visa versa and the barrel nut is tightened. The blurry bolt opening with the unstuck/easy removing primer is the next picture. And finally, is the Kevin Rayhill bedded 10-ML-2 with the 448 PacNor barrel with SSS Competition trigger which shoots saboted 40 cal bullets. The other rifle is the lapped 448 PacNor barrel that will shoot sabotless Parker bullets or saboted 40 cal bullets. This is an Obo stock,SSS Comp trigger,bedded that was done by RB. These guns will be at the April 19 shoot along with the 40 cal.
I hope this helps clarify things and removes any hesitance about ordering a 45 retro-fit barrel. This BP adjusting/primer fitting works on the 10-ML2 also(if you have removed your sites/or has no sites) and you aren't using your ramrod thimbles. This BP mod stopped ALL blow-back for me.
dougva.proboards.com/index.cgi?action=display&board=Savage&thread=6080&page=1
